Xbox One Controller Drift After New Analog Stick Replacement: Full Repair Guide
Published: 30 Apr 2026
Stick drift can be especially confusing when it appears after fitting a new analog module. In many Xbox One controllers, this happens because the replacement part does not match the original electrical values closely enough. Even a small difference in resistance can make the controller read movement while the stick is resting in the center.
This guide explains why new analog sticks can still drift, how the internal potentiometers affect accuracy, and how technicians replace and fine-tune the stick safely. It also covers manual resistance adjustment for small corrections when standard calibration is not available.
Understanding the Root Cause of Analog Stick Drift
An analog stick contains two potentiometers that track movement on the horizontal and vertical axes. These small three-pin parts are usually attached to the side of the analog housing and work by changing voltage as the stick moves.
Most Xbox One analog potentiometers are rated around 10 kΩ, but they can have a tolerance of about ±20%. This means two parts that look identical may still behave slightly differently. When a replacement analog stick has different resistance characteristics from the original, the controller may detect a false input at the center position.
For this reason, drift after replacement is often caused by electrical mismatch rather than poor soldering alone.
Why Replacing Analog Sticks Requires Precision
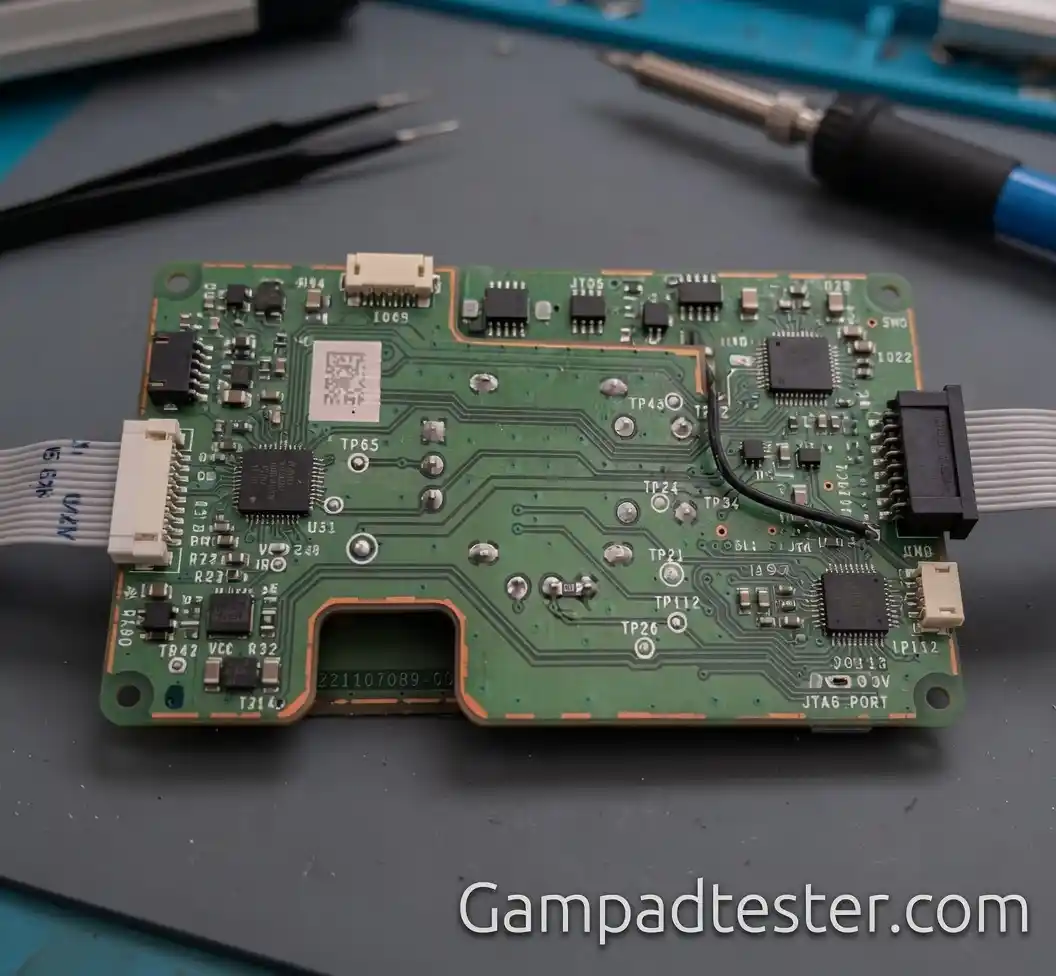
Changing an analog stick requires more than removing the old part and soldering in a new one. The replacement must sit correctly on the board, and its potentiometers should be as close as possible to the original values.
A good repair approach is to measure the old potentiometers before removal and choose a new stick with similar readings. This reduces the chance of center-point deviation after installation. If you skip this step, the controller may work mechanically but still show drift during testing.
Because the motherboard pads are fragile, the repair also needs proper heat control, flux, and careful handling.
Step-by-Step Analog Stick Replacement Process
1. Prepare your tools and workspace
Use a clean, stable workspace with proper lighting. You will need a hot air station, soldering iron, flux, solder wick, fresh solder, tweezers, and basic cleaning tools.
Before heating the board, remember that Xbox controller solder pads can lift easily. Avoid forcing the analog stick out before the solder is fully melted.
2. Set proper temperatures
Set both the hot air station and soldering iron to around 420°C. This temperature helps melt the solder properly, but the board should still be heated with care.
Do not keep the heat on one area for too long. Controlled, even heating is safer than applying pressure or overheating the pads.
3. Apply flux and fresh solder
Apply flux to the analog stick pins, then add a small amount of fresh solder to each joint. This improves heat transfer and helps the old solder melt more evenly.
Flux also makes the solder flow better, which reduces the risk of damaged pads or incomplete removal.
4. Remove the old analog stick
Heat the analog stick pins evenly until the solder becomes fully molten and shiny. Once all legs are loose, lift the old analog stick gently with tweezers.
Never pull the stick while any pin is still attached. If it does not move freely, continue heating carefully until the solder releases.
5. Clean the solder pads
After removing the old stick, clean the pads using flux and solder wick. Remove extra solder and inspect the board for lifted pads, bridges, or burnt areas.
A clean pad surface makes it easier to install the new analog stick correctly and helps create reliable solder joints.
6. Install the new analog stick
Place the new analog stick in the correct position and make sure all pins line up with the pads. Apply flux again, then solder each pin gently.
Check that the joints are smooth, shiny, and secure. Also, confirm there are no solder bridges between nearby pins.
Manual Resistance Adjustment Method (Advanced)
Xbox Series controllers can be calibrated using an Xbox One or Xbox Series console, but Xbox One controllers do not offer the same easy calibration option on PC or console. Because of this, some repair technicians use manual resistance adjustment to reduce minor drift after replacing an analog stick.
This method involves adding a resistor to slightly change the signal reading. It should only be used for small corrections because too much adjustment can stop the stick from reaching its full movement range.
For example, if the drift value is only slightly off, such as −0.05 or −0.02, a small correction may help. Larger corrections should be avoided unless you fully understand the effect on the analog range.
How it works
The added resistor changes the voltage-divider behavior of the potentiometer circuit. This can shift the resting position reading closer to the center and reduce drift.
However, this is not a full calibration method. It is only a workaround for small resistance differences between the old and new components.
Recommended resistor values
| Resistor value | Resistance adjustment |
| 43 kΩ | −0.15 |
| 51 kΩ | −0.11 |
| 100 kΩ | −0.05 |
| 200 kΩ | −0.02 |
Important precautions
Use manual resistance adjustment carefully. Applying too strong a correction can reduce analog travel, create dead zones, or prevent the stick from reaching the edge of its range.
This method is best for experienced technicians and should be used only after proper soldering, cleaning, and testing have already been completed.
Testing Your Repaired Controller
After the repair, test the controller with gampadtester.com or another reliable gamepad testing tool. Check whether the analog stick returns to center correctly and whether the X and Y axes move smoothly.
Move the stick slowly in every direction and confirm that it reaches the full range. Then release the stick and watch the center value. If the reading moves by itself, further adjustment or a better-matched analog stick may be needed.
Final Thoughts
Repairing Xbox One analog drift after installing a new stick requires patience, clean soldering, and accurate component matching. A new analog module may still drift if its potentiometers do not match the original values closely enough.
The best solution is to measure the old part and install a replacement with similar resistance. Manual resistance adjustment can help with very small deviations, but it should be used carefully to avoid limiting stick movement. Always test the controller fully before closing it.
- PS5 Gamepad Analog Stick Replacement GuideAnalog stick issues on PS5 controllers can significantly affect gameplay accuracy and control. Problems like drifting or unresponsive stick clicks are common after extended use. Fixing these issues requires technical skill and proper tools, as the analog module is soldered directly onto the board. This guide explains the problem, diagnosis, and replacement process step by… Read more: PS5 Gamepad Analog Stick Replacement Guide
- Xbox Series Gamepad Noisy or Sticky LT and RT TriggersXbox Series controllers are built for precision, but trigger issues can still develop over time. If your LT or RT buttons feel sticky, sluggish, or make an unusual noise, it can disrupt your overall gaming experience. These problems are often caused by worn or dirty internal components. Fortunately, with the right approach, you can fix… Read more: Xbox Series Gamepad Noisy or Sticky LT and RT Triggers
- Xbox One Controller Drift After New Analog Stick Replacement: Full Repair GuideStick drift can be especially confusing when it appears after fitting a new analog module. In many Xbox One controllers, this happens because the replacement part does not match the original electrical values closely enough. Even a small difference in resistance can make the controller read movement while the stick is resting in the center.… Read more: Xbox One Controller Drift After New Analog Stick Replacement: Full Repair Guide
- Xbox Series Gamepad Drift Fix: Analog Replacement And Manual Resistance Adjustment GuideStick drift is one of the most common issues affecting Xbox Series controllers, and it can become even more frustrating when it appears after installing a brand-new analog stick. Many users assume that replacing the analog module will completely solve the problem. However, in reality, slight variations in the electrical characteristics of the new components… Read more: Xbox Series Gamepad Drift Fix: Analog Replacement And Manual Resistance Adjustment Guide
- PS5 Edge Gamepad Analog Replacement and Calibration Guide: HALLA, TMR, and Original SticksReplacing the analog stick on a PS5 DualSense Edge controller is not a simple beginner repair. The motherboard pads are delicate, the analog module requires careful soldering, and calibration needs an extra wire connection to save the correct data inside the controller. This guide explains the key steps for replacing and calibrating HALLA, TMR, or… Read more: PS5 Edge Gamepad Analog Replacement and Calibration Guide: HALLA, TMR, and Original Sticks

Xbox Series Gamepad Drift Fix: Analog Replacement And Manual Resistance Adjustment Guide

- Be Respectful
- Stay Relevant
- Stay Positive
- True Feedback
- Encourage Discussion
- Avoid Spamming
- No Fake News
- Don't Copy-Paste
- No Personal Attacks
- Be Respectful
- Stay Relevant
- Stay Positive
- True Feedback
- Encourage Discussion
- Avoid Spamming
- No Fake News
- Don't Copy-Paste
- No Personal Attacks
